Demo Running Guide
The Demo projects help developers understand how the phone side and glasses side work together. Run the Demo first, then jump into scenario samples or API references. If you want to watch the full flow first, see the Build an app in five minutes video.
Get the Demo Repository
Demo repository:
https://gitee.com/as_pixar/glass3sdkdemo
Clone it locally:
git clone https://gitee.com/as_pixar/glass3sdkdemo.gitThe project structure, build commands, and source paths below are based on this repository.
Project Structure
The Demo repository contains two independent Android projects:
glassdemo: glasses-side Demoglass3sdkphonedemo: phone-side Demo
Open and build them separately.
Environment
- Android Studio
- JDK 17
- Android SDK 34
- Android phone
- Rokid Glass 3 device
Build Commands
Build the Glasses Demo
cd glassdemo
./gradlew assembleDebug
Build the Phone Demo
cd glass3sdkphonedemo
./gradlew assembleDebug
First Debugging Tips
Run the phone-side Demo first, then run the glasses-side Demo.
Phone entry:
com.rokid.phone.ui.MainPhoneActivity
Glasses entry:
com.rokid.glass.HomeActivity
Before Running
Authentication parameters
UserAuthInfo("", "") in phone-side MainPhoneActivity is a placeholder. If online capabilities require real AK/SK values, fill in the authentication parameters first.
Permissions
On first run, grant the required permissions, especially:
- Bluetooth
- Wi-Fi / Nearby
- Camera
- Microphone
- Notification listener
- Storage
Hardware links
The following capabilities depend on real devices and real links:
- Bluetooth connection
- Wi-Fi P2P
- Video stream preview
- Notification sync
- OTA
- Ring connection
Run the Demo
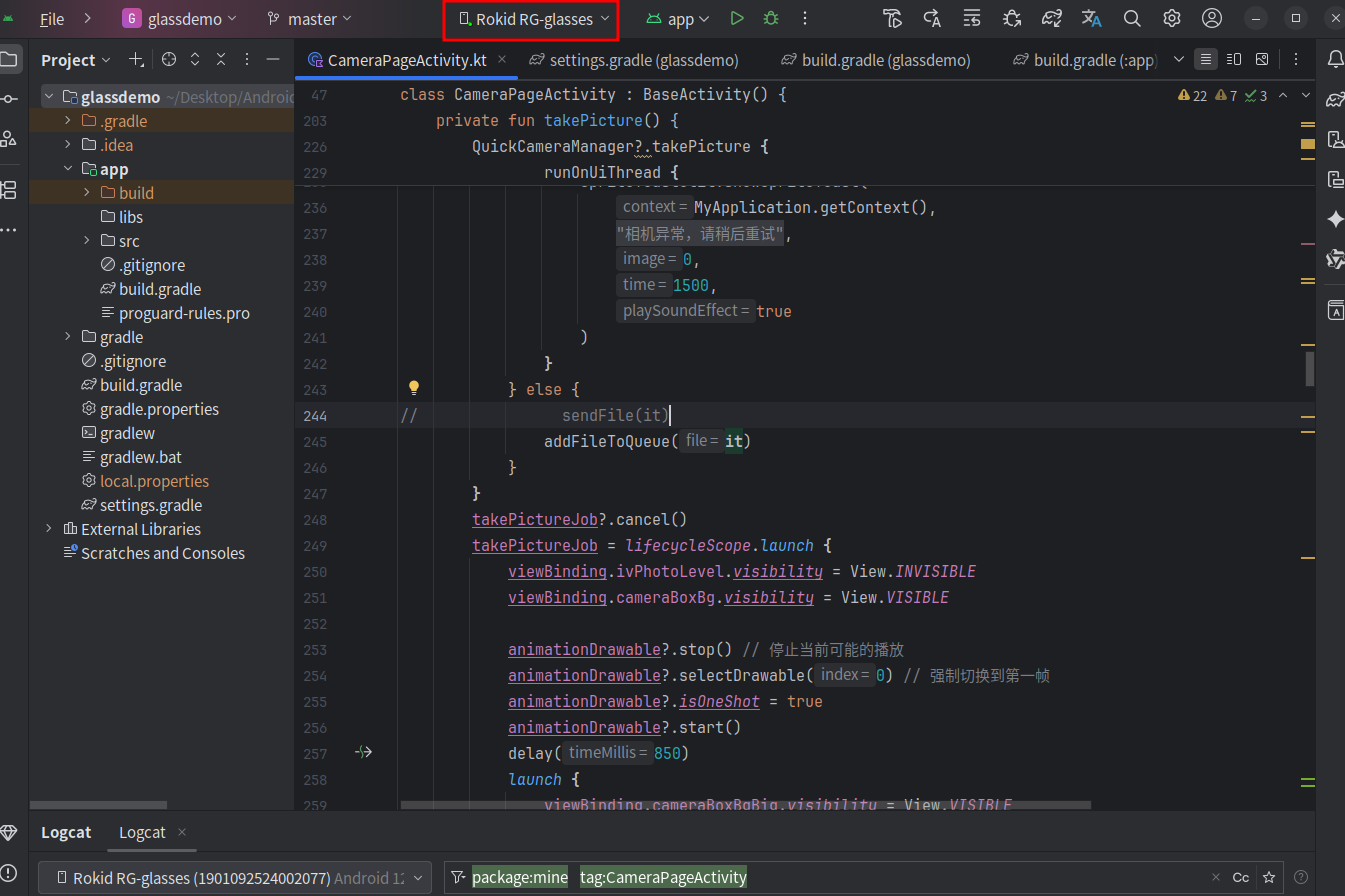
Run the glasses Demo
- Connect the glasses to your computer with the Glass3 data debug cable.
- Confirm Android Studio recognizes the device, such as
Rokid RG-glasses. - Select the glasses app module.
- Run
glassdemoon the glasses.
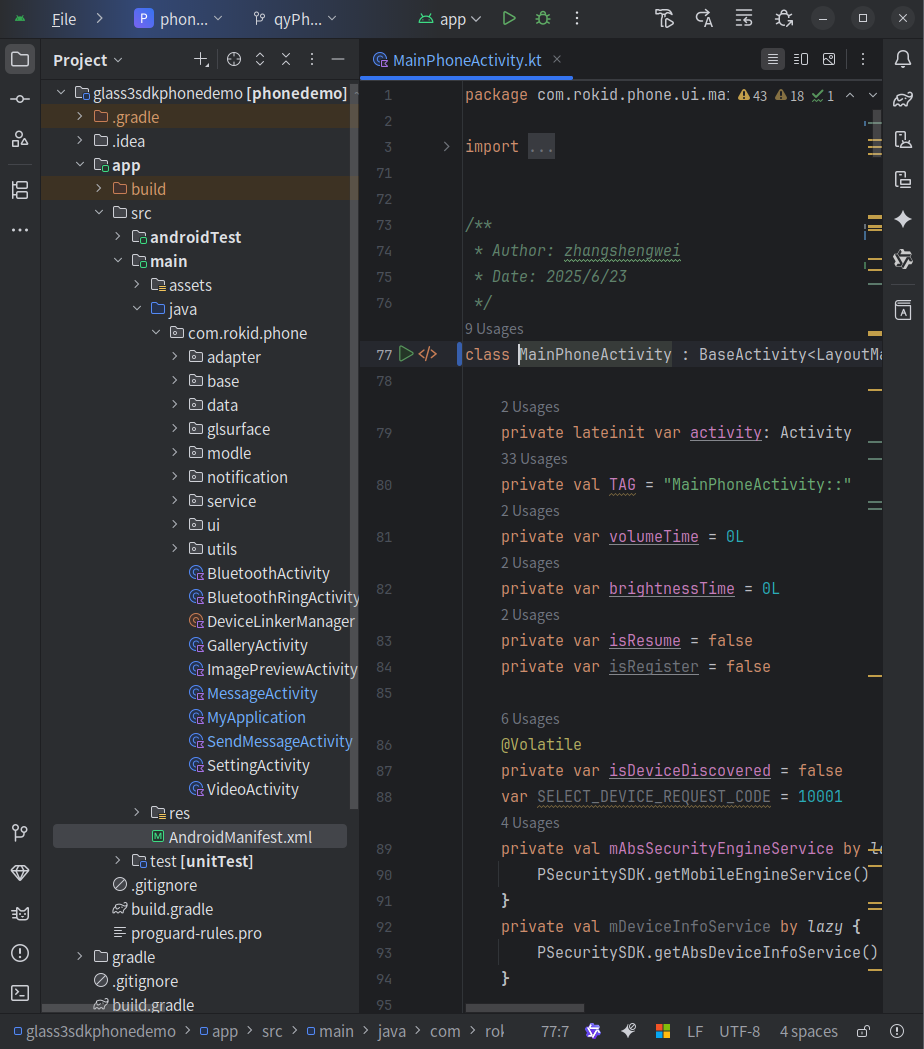
Run the phone Demo
- Connect an Android phone to your computer.
- Select the phone app module.
- Install and start the phone Demo.
- Scan and connect to Glass3 from the phone Demo.
After classic Bluetooth connects the phone and glasses demos, they can exchange messages and files.
Verify basic capabilities
Recommended verification order:
| Step | Capability | Expected result |
|---|---|---|
| 1 | SDK initialization | Phone and glasses initialize successfully. |
| 2 | Bluetooth scan and connection | Phone can scan and connect to Glass3. |
| 3 | Messaging | Phone and glasses can exchange text messages. |
| 4 | File transfer | Small files can be transferred between phone and glasses. |
| 5 | P2P connection | Large files or AV features can use the P2P channel. |
| 6 | Media | Photo, video, or live preview can be triggered. |
If Bluetooth or P2P fails, see:
Next Step
- Browse code samples.
- Read glasses UI guidelines before building your own glasses-side UI.
- Open API Reference.
- Open app downloads.